Light & Shadow in Drawing · Part 3 of 3 · March 21, 2021
Lighting #3 Projections
This note introduces cast light rays and cast shadows — projections.
We discuss how cast shadows work, specifically for point lights (bulbs, lamps and so on) and directional lights (sunlight, moonlight).
Cast shadow is the only one of the three darks that can be derived exactly by geometric construction. The other two — orientation and occlusion — rely on observation and experience; cast shadow relies on drawing lines. That is both its difficulty and its advantage: when it is wrong, you can find out why.
Point lights
A point light radiates from a single point in every direction, so its rays fan outward.
Constructing with one needs two points:
- The light point L: where the light actually sits in space.
- The foot point L′: the light's vertical projection onto the ground.
Every construction is a pairing of these two: draw from L through a vertex of the object, draw from L′ through that vertex's projection on the ground, and where the two lines meet is the corresponding corner of the shadow.
Characteristics of point-light shadows:
- The shadow diverges outward, growing larger the further it travels.
- Its length and shape are extremely sensitive to the height of the light.
- The closer the light is to the object, the harder the shadow edge.
Directional lights
Unlike a point light, whose rays radiate outward from a source, the rays of a directional light are all parallel.
That makes the construction simpler: no foot point is needed, only two directions —
- The ray direction, which sets how far the shadow reaches.
- The direction of the rays projected onto the ground, which sets which way it points.
Each of those has its own vanishing point in perspective. When the sun is inside the picture, the vanishing point of the ray direction is the sun itself; when it is outside the frame — the more common case — the vanishing point falls off the canvas and the rays read as parallel within the picture.
Characteristics of directional shadows:
- Objects of the same height cast shadows of the same length.
- Parallel edges stay parallel after projection, as long as they land on the same plane.
- Edge hardness depends only on the angular size of the source — the sun's shadow edges are nearly hard, an overcast sky's very soft.
Example 1: simple geometry
Let us follow these steps to understand the rules of cast shadow.
[ Point Light ]
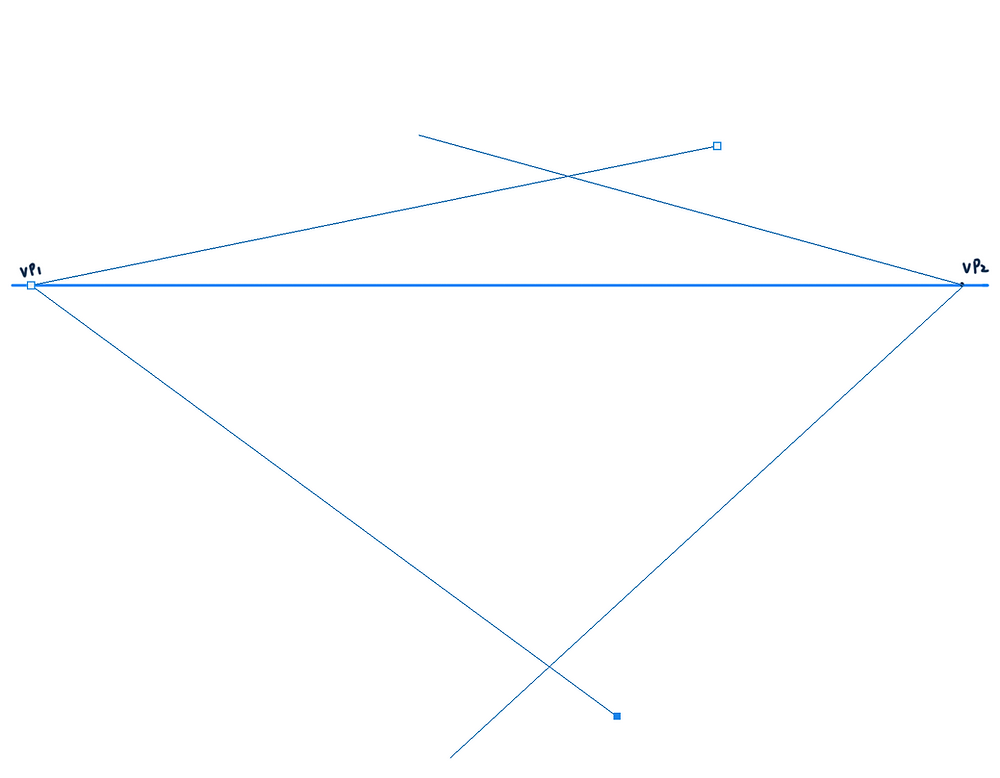
Step 1 Establish the perspective reference. Fix the vanishing points and the horizon. For convenience I will use two-point perspective.
Step 2 Draw a small house with a few boxes beside it. Keep the construction lines.
Step 3 Prepare a plan and a section at the same time.
Step 4 Now we need to place the point light. Remember that in order to fix the exact position of a point light we also need to know the position of its foot. The foot lands on the ground, so using the perspective reference we can place it correctly: first fix the foot point L′ on the ground plane, then draw a vertical from L′; the light L sits somewhere on that vertical. The height of the vertical sets how high the light is. This step cannot be skipped — without the foot point none of the later construction has anything to work from.
Step 5 Connect the airborne points to the light. Points on the ground cast no shadow; they only produce occlusion shadow.
This is the core of the method: only points off the ground produce a cast shadow. The ridge of the roof, the top edges of the boxes, an overhanging eave — those need construction. The bottom edge of a box sitting on the floor has a "shadow" that is the box itself; there is only occlusion there.
Step 6 Connect the foot point with the ground projections of the airborne points. Since we are using cubes here, no additional points need to be drawn. Notice how the shadow boundaries follow the perspective.
Concretely: for an airborne point P, first find its foot P′ on the ground, straight below it. Draw L′P′ and extend it; draw LP and extend it; where they cross is the projection of P. Repeat for each vertex you need and join the results to get the shadow outline.
Step 7 Clean up the lines and the point-light shadow is done.
[ Directional Lights ]
Step 1 Set the direction of the rays and of the shadows. Since sunlight direction changes constantly, the direction can be arbitrary.
Specifically, fix two things: the slope of the rays themselves, which sets how long the shadows are, and their direction along the ground, which sets which way they point. Once fixed, every object in the scene uses that same pair.
Step 2 Repeat the previous step until a shadow forms on the ground.
The remaining steps are similar, so I will not repeat them; the shadow of the adjacent cube is completed here.
The only difference from a point light is that no foot point is needed: from each airborne point draw a line parallel to the ray direction, from its ground foot draw a line parallel to the ground direction, and take the intersection.
Example 2: an interior
Interiors are harder because there is usually more than one light, and often an area light.
The approach:
- Pick one key light. Construct precise geometry only for that one; treat the others as fill that darkens and lifts, without a second set of cast shadows. Two equally crisp shadow sets look deeply strange unless you are deliberately drawing stage lighting.
- Approximate an area light as "one construction plus softening." A window is the usual case: construct from the centre of the window as if it were a point light, then soften the shadow edge with distance — the further from the occluder, the softer. That softening is the penumbra.
- Interior bounce is strong. The inside of a cast shadow should not be black; it is filled by light returning from the opposite wall, and it picks up that wall's colour.
Example 3: a character
A character's shadow is not constructed vertex by vertex — that is not realistic, since the body has no constructible corners. The practical method is simplify, then project:
- Reduce the figure to a few simple volumes: the head a sphere, the ribcage a barrel, the limbs cylinders.
- Construct the shadows of those volumes.
- Add the detail — hair, hem, fingers — back onto the resulting outline.
A few things to watch:
- The contact shadow must be the darkest and sharpest thing there. That small patch under the feet is the darkest note in the whole picture, and it is what fixes the figure to the ground. Without it the figure floats.
- Shadows climb onto other surfaces. A shadow travelling across the floor bends upward when it meets a wall, changing direction at the join. Getting that turn right creates the sense of space immediately.
- Self-shadow is cast shadow too. The nose onto the cheek, the chin onto the neck, the arm onto the torso — all follow the same rules, and they are where the light direction reads most clearly.
The three darks together
At this point the three notes combine. The full sequence is:
- Sort orientations and lay in the large value relationships. This gives you form.
- Multiply by occlusion, darkening every crevice and contact point. This gives you weight.
- Add cast shadow, constructing the key light's shadows geometrically. This gives you a light source and space.
The order cannot be reversed. Casting shadows before establishing orientation means placing shadows on a surface with no form — however accurate the shadow, nothing stands up.
Their edge qualities should stay distinct too: orientation transitions are softest, unless the form turns on a hard edge; occlusion fades from solid to nothing; cast shadow is sharpest at contact and softens with distance. The contrast between those three kinds of edge is most of what makes a drawing read well.